

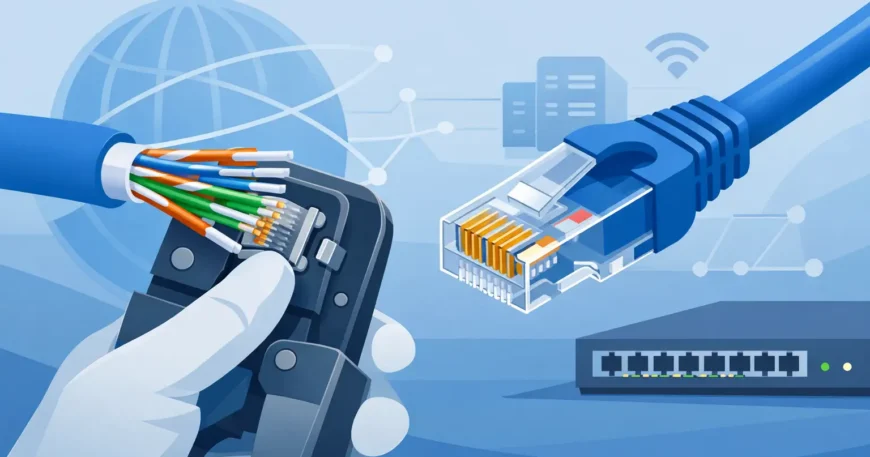
A Cat6 run can look neat in the wall or ceiling and still cause slow speeds, dropouts, or intermittent faults if the termination is poor. Knowing how to terminate Cat6 cables correctly comes down to preserving the cable’s twisted pairs, using the right hardware, and testing every completed run before the job is signed off.
For a single home office outlet, a careful DIY approach may be reasonable. For offices, warehouses, apartment buildings, CCTV systems, or any installation that supports daily operations, professional termination and certification are usually the better investment. One bad connection can be difficult to find once ceilings are closed and equipment is in service.
Choose the right Cat6 termination method
Cat6 cable is normally terminated in one of two ways: onto a keystone jack or patch panel using an IDC punch-down connection, or into an RJ45 plug using a compatible crimp plug. Both can work, but they suit different parts of a structured cabling system.
For fixed cable runs through walls, conduits, ceilings, risers, or cable trays, keystone jacks and patch panels are the preferred choice. They create a permanent, serviceable connection and let you use short, replaceable patch leads between the outlet and equipment. This is the standard approach for offices, network cabinets, meeting rooms, homes, and multi-dwelling properties.
RJ45 plugs are more commonly used for pre-made patch leads or specific field-termination situations. Crimping plugs directly onto solid-core horizontal cable can be less forgiving, particularly where the cable may be moved or strained. If a fixed run needs an RJ45 end, use plugs specifically rated for Cat6 and for the conductor type you are working with.
The key point is simple: do not treat a permanent building cable like a loose patch lead. Terminate fixed cabling onto a jack or panel where possible, then use patch leads to connect devices.
Tools needed to terminate Cat6 cables
A clean result depends on using proper termination tools rather than improvising with a blade or general-purpose pliers. For most jack or patch-panel work, you will need:
- A Cat6-rated keystone jack or patch panel, matched to the cable type
- A cable stripper or electrician’s scissors suitable for low-voltage cable
- A 110 punch-down tool, unless the jack is tool-less
- A basic cable tester, with a certification tester recommended for commercial work
For RJ45 terminations, add Cat6-rated RJ45 plugs and a compatible crimping tool. Not all plugs suit all cables. Cat6 may use 23 AWG conductors, while some common plugs are designed for smaller 24 AWG or 26 AWG conductors. Check compatibility before starting.
Also inspect the cable jacket. Most in-wall Cat6 is solid copper conductor cable, while flexible patch leads often use stranded conductors. The connector must suit both the wire gauge and solid or stranded construction.
Select one wiring standard and keep it consistent
Ethernet uses two common pinout standards: T568A and T568B. The electrical performance is the same when the same standard is used at both ends of the run. In many commercial installations, T568B is the more common convention, but an existing site may use T568A.
Before terminating anything, inspect existing patch panels and wall outlets. Match the established standard unless there is a documented reason to change it. A cable with T568A at one end and T568B at the other becomes a crossover cable, which is not what most structured wiring installations require.
The colour code is printed on quality keystone jacks and patch panels. Follow the label exactly. Do not rely on memory, especially when working across multiple outlets or a larger cabinet. Consistency saves troubleshooting time later.
Prepare the cable without damaging the pairs
Start by leaving enough cable at the outlet box or rack for future servicing. A short tail may look tidy, but it makes replacement, re-termination, and cabinet changes harder. At the same time, avoid leaving large coils of cable in a wall cavity or cabinet.
Strip only enough outer jacket to reach the termination points, generally around 25 to 40 mm depending on the jack design. Take care not to nick the insulation on the individual conductors. A small cut may not cause an immediate failure, but it can create an unreliable connection over time.
Cat6 performance relies on the twist rate of each pair. Untwist the conductors only as far as necessary to seat them into the terminals. As a practical rule, keep the twists as close to the termination point as the hardware allows. Excessively straightened conductors can reduce noise resistance and affect the cable’s ability to support higher speeds over distance.
Many Cat6 cables include a plastic centre spline or separator. Trim it back neatly after removing the jacket. Do not force it into the jack, and do not leave it protruding where it could interfere with the cover or strain relief.
Terminating Cat6 cable onto a keystone jack
Position the prepared cable so the outer jacket reaches the jack’s strain-relief point. The jacket should be captured by the jack or cover where the design permits. The individual conductors should not carry the pull load.
Separate the pairs only enough to route each conductor to its marked slot. Follow either the T568A or T568B colour layout printed on the jack. Seat each wire fully into the IDC slot, keeping the cable as straight and relaxed as possible.
With a punch-down jack, use the 110 tool with the cutting blade facing the outside, towards the excess wire. Press firmly in one controlled motion. The tool seats the conductor and trims the excess at the same time. If you are using a tool-less jack, close its termination cap or mechanism fully and check that every conductor is seated.
Once terminated, inspect the jack closely. Each wire should be fully seated, no copper should be exposed, and the jacket should be held securely. Fit the dust cover or strain-relief cap if supplied, then install the jack in the wall plate or patch panel.
Terminating Cat6 cable with an RJ45 plug
RJ45 plugs require more precision because the conductor order must remain correct as the wires enter the plug. This method is best reserved for suitable field plugs, short direct equipment connections, or situations where a jack is impractical.
After stripping the jacket, arrange the conductors in the correct T568A or T568B order. Keep the pairs twisted as long as possible, then straighten only the final section. Trim the conductors evenly so they reach the end of the plug while the outer jacket enters the strain-relief area.
Slide the wires into the plug and visually confirm every conductor reaches the front. The colour order must be correct from left to right when viewed in the proper orientation. Crimp the plug using the matching tool, then gently pull on the cable to confirm the jacket is captured.
A plug can look correctly crimped while one conductor has missed its contact or the wire order is wrong. Testing is not optional.
Test every cable run before putting it into service
At minimum, use a network cable tester to check continuity, pin order, opens, shorts, and split pairs. A split pair is a common fault where the pins may appear continuous but the paired conductors are electrically mismatched. It can cause poor network performance even though a basic link light appears.
For commercial installations, high-speed access points, IP cameras, voice-over-IP phones, or long cable runs, use a cable certification tester. Certification testing measures performance factors such as length, attenuation, crosstalk, and return loss against the required cable category. It provides a clearer record that the installed channel is capable of the intended service.
Test before furniture is moved back, walls are sealed, or ceiling access is lost. Label both ends of every cable at the same time. A simple numbering system for the outlet and patch-panel port makes future changes much faster.
Common Cat6 termination problems
Most issues are caused by small shortcuts rather than faulty cable. Too much untwisting, damaged insulation, an incorrect wiring standard, poor strain relief, or using Cat5e-rated hardware on a Cat6 run can all affect results. Mixing cable categories is particularly common during quick upgrades, where an older patch panel or jack may be left in place.
Cable routing matters as well. Avoid sharp bends, crushing the cable with cable ties, and running data cable parallel and close to mains power for long distances. Maintain sensible separation from electrical cabling and use appropriate pathways, supports, and fire-stopping methods for the building type.
If a test fails, do not assume the tester is wrong. Recheck the colour order and seating at both ends first. Re-terminating a jack is often quicker and more reliable than trying to repair a questionable connection in place.
When to bring in a cabling professional
A homeowner can terminate a few outlets with care and the correct tools. The risk changes when the work involves multiple runs, network racks, ceiling spaces, shared buildings, security cameras, PoE equipment, or critical business connectivity. These installations need clean cable management, correct component selection, testing, documentation, and an approach that allows the network to grow.
For property managers and business operators, professional cabling also reduces the cost of faults after tenants, staff, or customers are relying on the system. A properly labelled, tested Cat6 installation is easier to maintain, easier to expand, and far less likely to become a hidden problem behind finished walls.
A reliable network starts at the termination point. Taking the time to use compatible hardware, preserve the cable pairs, and test every run will deliver a connection you can depend on long after the installation is finished.

