

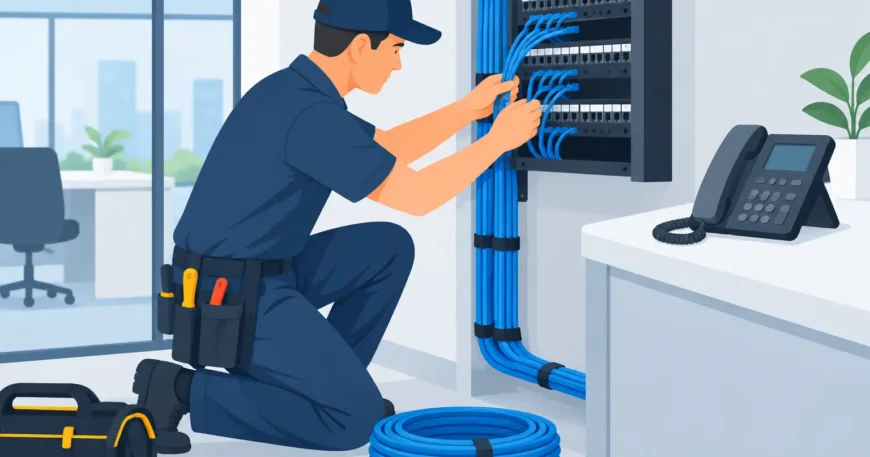
A VOIP handset can look like a simple desk phone, but its call quality depends on the same network infrastructure that carries every other critical business service. Poor cable routing, weak terminations or an overloaded network can lead to dropped calls, crackling audio and phones that lose power when staff need them most. Knowing how to install VOIP cabling properly starts with treating it as a structured cabling project, not a quick telephone install.
For a small office, warehouse, apartment development or home office, the objective is the same: install clean, tested Ethernet cabling that supports reliable voice traffic now and gives the property room to grow later.
Plan the VOIP cabling before pulling cable
Start by identifying every location that needs a phone, wireless access point, computer, printer, camera or other networked device. VOIP phones use Ethernet, so their cabling should connect back to a central communications cupboard, rack or patch panel in a star layout. Each outlet has its own dedicated cable run back to that central point.
Avoid joining cables mid-run or daisy-chaining outlets. These shortcuts can create faults that are difficult to trace and make future changes far more expensive. A dedicated run to each outlet is easier to test, label and replace if damage occurs.
For commercial sites, allow for more outlets than the immediate phone count. A desk that has one VOIP phone today may need a second screen, laptop dock or additional network device next year. In new builds and refurbishments, spare conduits and additional Cat6 runs are usually low-cost work while walls and ceilings are open.
The plan should also account for the location of switches, internet equipment, the server rack and any uninterruptible power supply. If the phone system needs to remain available during a short power outage, the network switch, router and internet connection must have backup power as well. The cable itself cannot keep a VOIP system operating if the active equipment is off.
Choose the right cable and hardware
Cat6 is a practical choice for most new VOIP cabling installations. It supports gigabit network connections and provides useful headroom for computers, cameras, Wi-Fi and other services sharing the same structured cabling system. Cat5e can still support many VOIP systems, particularly where it is already installed and tests well, but Cat6 is generally the better option for new work.
Use solid-core, standards-compliant data cable for fixed in-wall and ceiling runs. Patch leads are different: they are flexible stranded cables used between the wall outlet and phone, or between a patch panel and switch. Do not use flexible patch cable as a substitute for permanent cabling runs.
The other components matter just as much as the cable. A professional installation typically includes Cat6 keystone jacks or data outlets, faceplates, a patch panel, cable management, patch leads and a suitable network switch. In a larger site, a rack and properly sized cable pathways keep the installation safe, accessible and organised.
Check Power over Ethernet requirements
Many VOIP phones are powered through Power over Ethernet, commonly called PoE. This removes the need for a separate power pack at every desk and helps keep phones working when the communications rack is connected to battery backup.
Before installation, confirm the PoE standard and power draw of the proposed phones. Standard desk phones may have modest requirements, while colour touch-screen models, video phones and devices with expansion modules can require more power. The switch must provide enough PoE capacity across all ports, not simply support PoE on paper.
Route cables carefully and protect performance
Cable pathways should be planned around access, safety and interference. Run data cable through approved pathways, conduits, cable tray or ceiling supports as appropriate for the building. Keep it supported at sensible intervals and avoid laying it loose across ceiling tiles, sharp metal edges or hot mechanical equipment.
Maintain separation from mains electrical cabling. Running low-voltage data cable alongside electrical wiring for long distances can introduce interference and may breach applicable installation requirements. Cross electrical cabling at right angles where paths must meet, and use separate containment where possible.
Do not pull cable too tightly, kink it around corners or exceed its recommended bend radius. Excessive pulling force and tight bends can damage the internal twists that allow Ethernet cable to carry data reliably. The cable may still look fine from the outside while delivering poor network performance.
For warehouses, workshops and exposed areas, cable protection deserves extra attention. Use suitable conduit, tray or protective pathways where forklifts, stock movement, moisture, dust or accidental impact are likely. In multi-dwelling properties, clearly planned risers and pathways are especially valuable because they simplify repairs and future upgrades across multiple units.
Install outlets and terminate every run consistently
At the work area, fit a data outlet in a practical, accessible location. Desk outlets should not be hidden behind fixed cabinetry or positioned where patch leads become trip hazards. Wall-mounted phones, reception areas and conference rooms may need purpose-specific outlet positions determined during the planning stage.
Terminate each permanent cable onto a keystone jack using the same wiring scheme throughout the installation. T568B is commonly used, but consistency is more important than choosing one convention over another. A cable terminated as T568B at one end and T568A at the other becomes a crossover cable, which can create unnecessary troubleshooting issues in a modern network.
At the communications rack, terminate the other end onto a patch panel. Avoid crimping plugs directly onto solid-core horizontal cable unless there is a specific reason and the correct components are being used. Patch panels provide a cleaner, more serviceable result and make it straightforward to move a phone outlet to another switch port.
Leave enough service loop for sensible maintenance, but do not coil excessive cable into the rack or ceiling. Keep pairs twisted as close as possible to the termination point. Untwisting too much cable can reduce performance, particularly on higher-speed data connections.
Label, test and document the installation
A VOIP cable run is not finished when the faceplate is fitted. Every outlet, patch-panel port and switch port should have a clear matching label. For example, a label such as “Level 1 Reception 02” is more useful than a handwritten “phone” label that means nothing during an after-hours fault.
Test each run with appropriate cable test equipment before connecting phones. At a minimum, testing should confirm continuity, correct wire mapping and the absence of splits or shorts. For commercial projects and new structured cabling installations, certification testing provides stronger evidence that the link meets the required performance category.
Documentation should record outlet locations, cable identifiers, patch-panel positions and the switch port assigned to each device. This saves time when a staff member moves desks, a phone is replaced, or a technician needs to diagnose a fault quickly.
Connect the network equipment and configure voice traffic
Once the cabling has passed testing, connect patch-panel ports to the PoE switch using short, labelled patch leads. Connect the VOIP phone to its assigned outlet and confirm that it powers up, receives network access and registers with the phone platform.
Physical cabling is only one part of call reliability. On a business network, voice devices may be placed on a separate voice VLAN, with quality of service settings used to prioritise call traffic when the internet connection is busy. This is particularly helpful where staff make frequent calls while cloud applications, video meetings, cameras and large file transfers are active.
The right setup depends on the size of the network. A small home office may only need a reliable router and a quality PoE switch. A busy office, warehouse or multi-tenant property may need managed switches, segmented networks, battery backup and properly designed internet capacity. Installing extra cable does not solve a network bottleneck, but it gives the network team a dependable physical foundation to work from.
When professional installation is the sensible choice
Simple plug-in VOIP phones can be easy to connect, but running permanent cable through walls, ceilings, risers and commercial spaces is different work. A professional low-voltage cabling team can plan routes, install compliant pathways, terminate and test every run, and coordinate the network side so the finished system is clean and ready to use.
This is particularly useful during office fit-outs, renovations, warehouse expansions and apartment retrofits, where access will become harder and more costly once the building work is complete. It also helps prevent a common problem: paying for a new phone system, then finding the existing cabling cannot support it reliably.
A well-labelled Cat6 installation gives each phone a dependable connection today and leaves the property ready for whatever needs to connect at that outlet tomorrow.

